Routines • Ages 2–8
Daily Routine Chart for Kids: A Printable-Style Guide for Calmer Mornings and Bedtimes
If every morning feels like a hostage negotiation over socks, you are not doing anything wrong. Young children simply do better when the day has a shape they can see. This guide walks you through building a daily routine chart for kids that fits your child’s age, from a simple three-picture strip for a two-year-old to a clock-based checklist for a first grader, with sample charts, a step-by-step build, troubleshooting fixes, and a printable-style checklist you can copy tonight.
✓ Ages 2–8✓ Sample morning, after-school & bedtime charts✓ Free to make at home✓ Clock-reading tips
In this guide
- Why a routine chart works
- What to put on the chart at each age
- How to make a routine chart in 7 steps
- Sample routine charts you can copy
- Add clocks: turn the chart into a time-telling lesson
- Troubleshooting: when the chart stops working
- Printable-style setup checklist
- A gentle next step for clock practice
- FAQ & final thoughts
Why a routine chart works
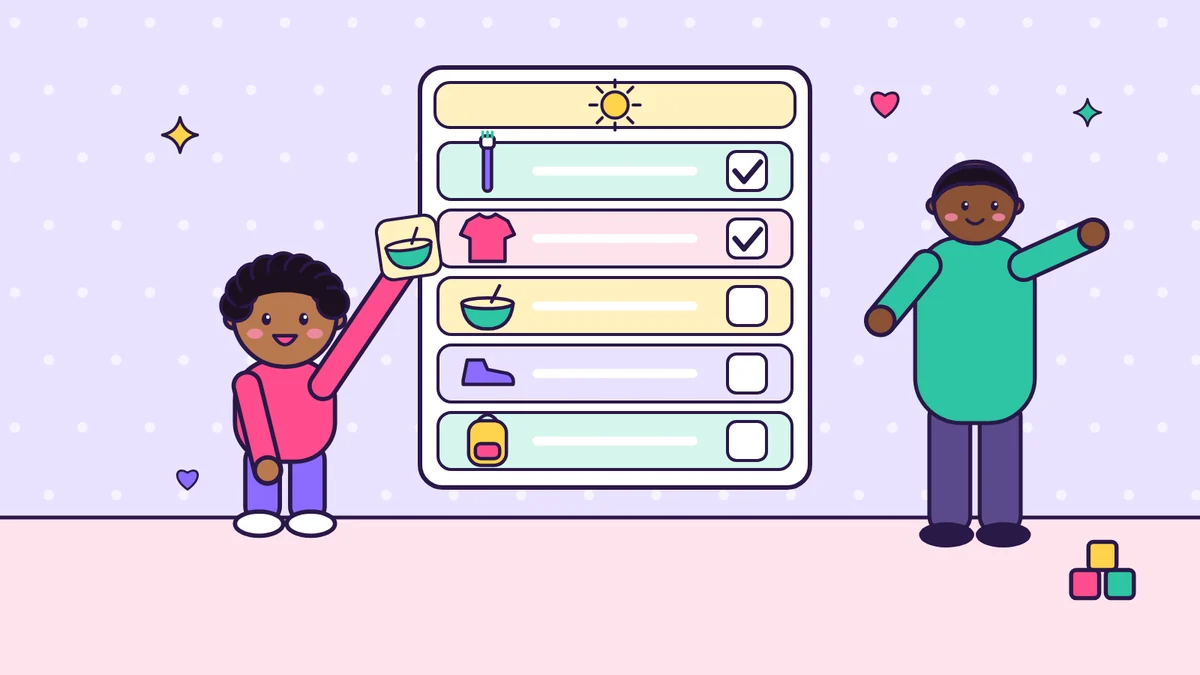
A routine chart is a visual list of the steps in part of your child’s day, in order. That’s it. It can be pictures stuck to the fridge, a laminated strip by the bathroom sink, or a whiteboard with a column of checkboxes. The magic is not in how pretty it is. The magic is that the plan moves out of your head and onto the wall, where your child can see it, point at it, and eventually run it without you.
The U.S. Centers for Disease Control and Prevention’s guidance for parents of toddlers stresses three ideas that a chart puts into practice: structure, consistency and predictability. The CDC notes that routines help children know what to expect, and it suggests simple sequences such as “brush, book, bed” at night. It also recommends keeping household rules few and clear (toddlers can handle only two or three rules at a time) and posting them where everyone can see them, such as on the fridge. A routine chart is exactly that kind of visible, simple structure.
The American Academy of Pediatrics makes a similar point on its parent site, HealthyChildren.org: predictable routines tend to mean fewer power struggles, because the routine, not the parent, becomes the thing that says “now it’s time to brush teeth.” When a child argues with a picture on the wall, there’s less to push against.
● What a chart does for your child
- It reduces surprises. Many meltdowns happen at transitions. Seeing “shoes” coming after “breakfast” gives your child time to get ready for the change.
- It builds independence. A child who can read the chart (in pictures or words) can do the next step without being told. That’s a real feeling of competence.
- It gives a sense of control. Letting kids choose the pictures, the order of some steps, or the sticker for finishing gives them healthy choices inside a fixed frame.
- It supports early skills. Following a sequence is early planning. Matching a step to a time on a clock is early math. Reading simple word labels is early literacy.
● What a chart does for you
- You repeat yourself less. “What’s next on your chart?” replaces the tenth reminder.
- Every caregiver (a partner, grandparent or sitter) runs the same routine, which is the consistency the CDC talks about.
- You can spot the sticking point. If mornings always stall at “get dressed,” you know where to make changes.
- You get a calmer tone. Pointing at the chart is easier to do kindly than nagging is.
🌟 Keep expectations realistic
What to put on the chart at each age
The single most common routine chart mistake is making it too long. A two-year-old can’t hold twelve steps in mind; a seven-year-old will be bored by three. Use the table below as a starting point, then adjust for your own child. Age is only a rough guide: a child who struggles with transitions may need a shorter chart for longer, and that’s fine.
Notice the progression in the right-hand column: the adult moves from doing it together to reminding to checking at the end. That shift is the whole point. Every few months, ask yourself whether your child is ready to take over one more piece.
● Pictures, words or clocks?
For toddlers, use real photos of your child doing each step if you can. Seeing themselves brushing teeth is far more meaningful than a generic toothbrush clip-art. For preschoolers, simple drawings plus a single word (“teeth,” “shoes”) start to build sight-word recognition without being the main signal. By kindergarten and first grade, words can lead, and clocks become useful, which we’ll get to in the clocks section.
● How many charts?
Most families do best with separate small charts for each tricky part of the day rather than one giant schedule. The usual three are a morning chart, an after-school or after-daycare chart, and a bedtime chart. Put each one where that routine happens: morning by the bedroom door, after-school by the entry, bedtime in the bathroom or bedroom. If your weekends look very different, a simple weekend chart helps too.
How to make a routine chart in 7 steps
You do not need a printer, a laminator or a craft budget. Everything below can be done with what’s already in most kitchens. Set aside about an hour for the first chart, ideally with your child helping.
Step 1
Pick one routine to start
Choose the part of the day that causes the most friction. For most families that’s the morning rush or bedtime. Don’t launch three charts at once; get one working first, then add another in a week or two.
You’ll need:
- A notebook to jot down what currently happens, step by step
Step 2
Write down the real steps, in order
Watch the routine for a day or two and list what actually happens, not the ideal version. Then trim. Combine tiny steps (“pajamas on” and “clothes in hamper” can be one card) and cut anything that isn’t essential. Aim for the step count in the age table.
You’ll need:
- Pen and paper
- Sticky notes, one step per note, so you can reorder easily
Step 3
Choose pictures with your child
Take photos of your child doing each step, draw simple pictures together, or cut images from magazines or printed icons. Let your child choose between two options for each step. Kids defend what they helped create.
You’ll need:
- Phone camera or crayons and markers
- Old magazines or printed icons
- Child-safe scissors and a glue stick
Step 4
Build a sturdy chart
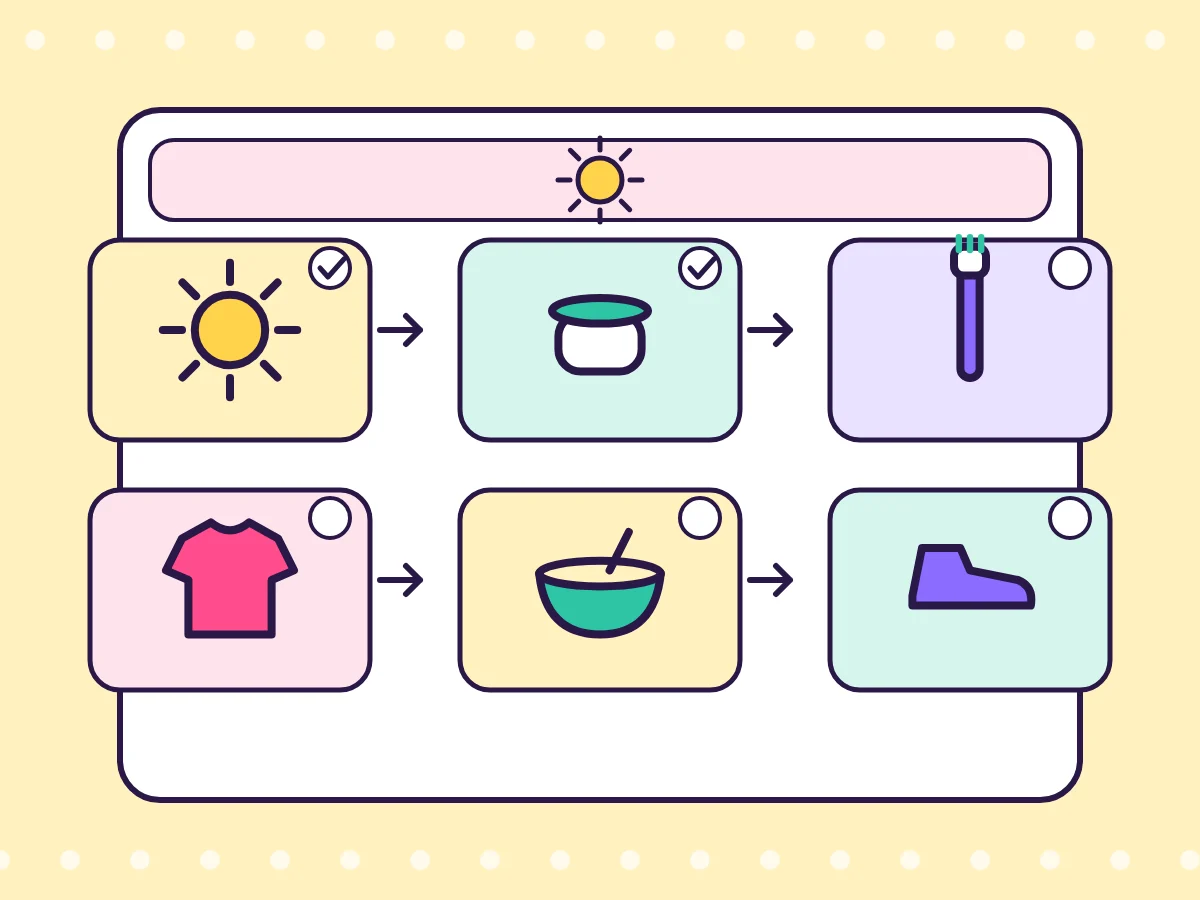
Glue each picture onto a card. Cover the cards with clear packing tape or laminate them so they survive sticky fingers. Line them up on poster board, a cookie sheet with magnets, or a strip of ribbon with clothespins.
You’ll need:
- Card stock or cereal-box cardboard
- Clear packing tape or self-laminating sheets
- Poster board, a magnetic board or ribbon and clothespins
- Velcro dots or small magnets
Step 5
Add a way to mark “done”
Children love to see progress. Options: flip each card over to a “done” side, move a clothespin down the strip, slide a magnet from “to do” to “done,” or tick a box with a dry-erase marker. Keep it quick so marking doesn’t become its own distraction.
You’ll need:
- Dry-erase marker
- Clothespins or a large paper clip
- Two-sided cards (picture on front, star on back)
Step 6
Hang it at your child’s eye level
Mount the chart where the routine happens and low enough for your child to touch. A chart over an adult’s head is a chart for adults.
You’ll need:
- Painter’s tape or removable hooks
- A step stool if needed
Step 7
Practice it, then let it run
Walk through the chart together when everyone is calm, like a game, before you rely on it during a real rushed morning. For the first week, run each step together and use the chart to ask “what’s next?” instead of telling. Notice and name effort: “You checked your chart and got your shoes on by yourself!” The CDC recommends this kind of specific, labeled praise.
You’ll need:
- A small, consistent end-of-routine moment: a high-five, a song, or a sticker
⚠️ Safety notes for making and hanging charts
- For children under 3, avoid small magnets, buttons, thumbtacks and beads on or near the chart; they are choking hazards, and swallowed magnets can be especially dangerous. Use large magnets, tape or Velcro and hang the chart above reach if small parts are involved.
- Supervise scissor and glue-stick use, and use child-safe scissors.
- Secure any board or frame so it can’t fall if pulled. Keep ribbon or string short and out of reach of babies and toddlers to avoid strangulation risk.
Sample routine charts you can copy
Below are three sample charts for a preschooler or kindergartner with a typical daycare or school schedule. The times are examples only. Shift every time earlier or later to fit your own wake-up and school start time, and drop steps for younger children. The picture column suggests a simple icon for each card.
● Sample morning chart
The biggest morning win for most families is moving decisions to the night before. Clothes picked and laid out, backpack packed and by the door, shoes in their spot. That turns “get dressed” from a negotiation into a step.
● Sample after-school chart
After school, many children are tired and hungry and have been following rules all day. A snack and some active play before anything that needs focus often helps. If evening screens are a battle in your house, our guide on how to cut evening screen time without a meltdown pairs well with this chart. And if you want quiet time to actually be quiet, try a few of these independent play activities that actually stick.
● Sample bedtime chart
Notice that the bedtime chart starts well before bedtime. A predictable wind-down lets your child’s body get ready for sleep. If nights are rough, our 7-night routine for toddlers who won’t sleep goes deeper on settling.
● How much sleep should the chart allow for?
Use your child’s sleep needs to set the bedtime, then work backward. The American Academy of Pediatrics supports the American Academy of Sleep Medicine’s recommended ranges, summarized on HealthyChildren.org (hours per 24 hours, including naps):
Example: a 4-year-old who must be up at 7:00 a.m. and no longer naps would need a lights-out time somewhere between about 6:00 and 9:00 p.m. to fall within the 10–13 hour range. Pick the time that matches how rested your child seems. Many preschoolers do well near the earlier end. Then build the bedtime chart backward from lights-out.

Add clocks: turn the chart into a time-telling lesson
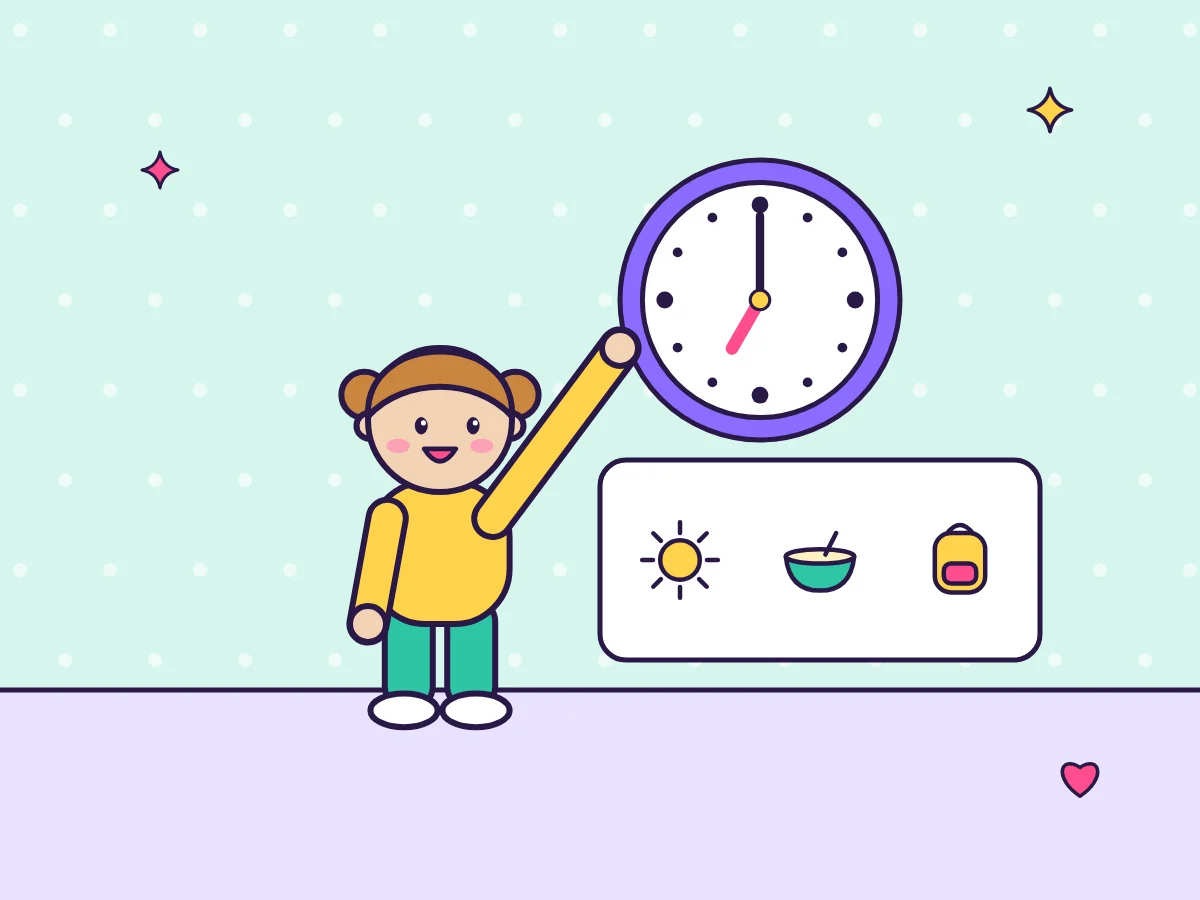
Once your child is around four or five and knows the routine well, a routine chart is a perfect, low-pressure way to introduce clocks. Children already care about the times on their chart (“when is snack?”), so the clock has meaning, not just numbers.
For context, the U.S. Common Core math standards place formal telling time in first grade: “Tell and write time in hours and half-hours using analog and digital clocks” (1.MD.B.3). In second grade, children move to telling time to the nearest five minutes, using a.m. and p.m. (2.MD.C.7). So a preschooler noticing that “breakfast is at seven o’clock” is getting a gentle head start, not falling behind.
● A simple 4-stage path
- Matching (about 4+). Draw a clock face showing the time next to one or two key cards (wake up, dinner, bedtime). Hang a real analog clock nearby. Ask: “Does the wall clock look like the picture yet?” No reading required, just matching shapes.
- O’clock times (about 4–5). Talk about the short hand (hours) and long hand (minutes). When the long hand points straight up to 12, it’s “something o’clock.” Add o’clock times to more cards.
- Half hours (about 5–6). When the long hand points straight down to 6, it’s “half past.” Change a few chart times to half hours (“7:30 breakfast”) so your child sees both kinds.
- Digital and analog together (about 6+). Write the digital time under each clock face. Children start to connect “7:30” with the picture. Later, add five-minute times.
● Clock activities that take two minutes
- Clock detective: At each transition, ask your child to check the clock against the chart card. Praise the checking, not just the right answer.
- Make a paper-plate clock: Write 1–12 around a paper plate, attach two paper hands with a brass fastener (adult-only for under-3s; the fastener is a choking hazard), and let your child set the time for each chart step.
- Hand races: Use the paper clock to show where the hands will be at the next step. “When the long hand gets to the 6, it’s shoes time.”
- Time for a timer: For pre-readers, a visual or sand timer for “10-minute tidy” gives a feel for how long minutes are.
⏰ Tip: avoid clock pressure
Troubleshooting: when the chart stops working
Almost every family hits a wobble a week or two in. That doesn’t mean charts don’t work for your child; it usually means the chart needs a small tweak. Find your problem below.
● Should I use rewards or stickers?
Stickers can make a new chart exciting, and some kids love them. Keep them small, immediate and tied to effort, and plan to fade them out once the routine is a habit. For many children, the satisfaction of flipping the last card plus a warm “you did it!” is enough. The CDC’s guidance for toddlers leans on clear expectations, consistent follow-through and specific praise rather than big prizes.
● What if my child has extra needs?
Visual schedules are widely used for children who find transitions hard, including some autistic children and children with ADHD. If your child receives services, ask their therapist or teacher which picture style and how many steps they use at school, so your home chart matches. Consistency across settings helps.
Printable-style setup checklist
Copy this list onto a sticky note or screenshot it. Tick each box as you go, and you’ll have a working routine chart by the end of the weekend.
Plan
- ☐Pick ONE routine to start (morning or bedtime)
- ☐List the real steps for two days
- ☐Trim to the right number of steps for your child’s age
- ☐Decide on wake-up and lights-out times using the sleep ranges above
Make
- ☐Take photos or draw a picture for each step with your child
- ☐Glue to card and cover with clear tape
- ☐Choose a “done” marker (flip, clip, magnet or tick)
- ☐Check for small parts if a child under 3 lives at home
Launch
- ☐Hang at child eye level where the routine happens
- ☐Practice once as a game when calm
- ☐Tell every caregiver how the chart works
- ☐Use “What’s next on your chart?” instead of reminders
Keep it working
- ☐Use labeled praise for each step done
- ☐Review after one week: which step stalls?
- ☐Refresh pictures when interest fades
- ☐Add clock faces once your child is ready (about age 4+)
- ☐Add a second chart only after the first one works
🎁 Free printable
Free printable daily routine chart (3 pages)
Want a head start? We made a simple printable you can use tonight. It’s free, made for this guide, and it isn’t a page from any of our paid books.
- Page 1: picture morning routine chart with clock faces and tick boxes
- Page 2: picture bedtime routine chart
- Page 3: blank chart: draw your own pictures for any routine
Free, no email needed. US Letter size; print at 100%. For personal and classroom use.
A gentle next step for clock practice
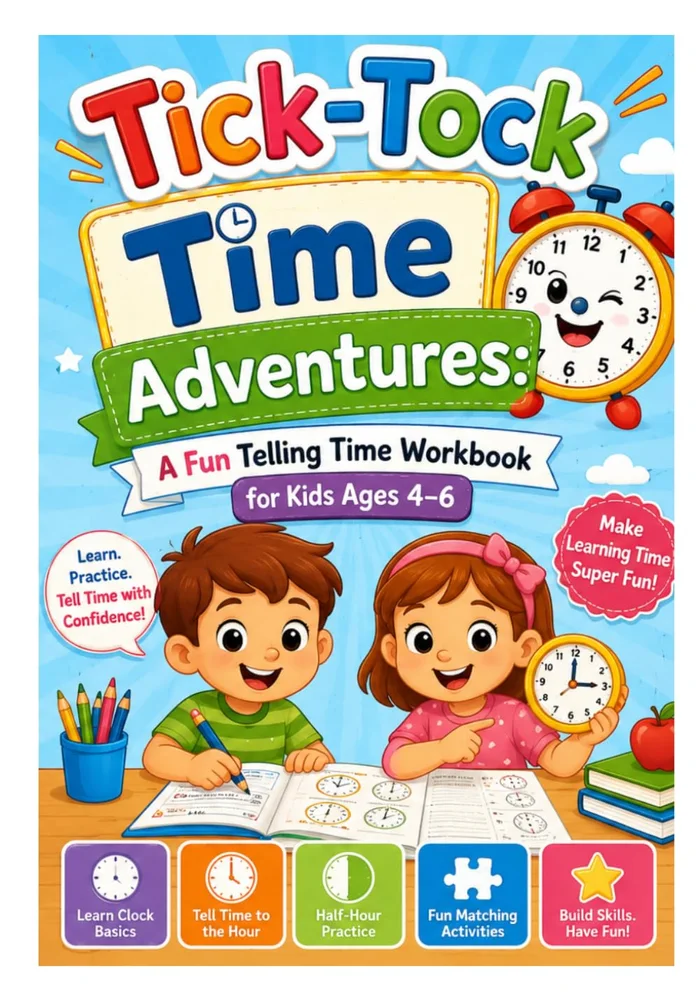
If your child has started asking “is it seven o’clock yet?” while checking their routine chart, a short workbook can give them more structured clock practice than the chart alone. We publish one at ColorJoy: Tick-Tock Time Adventures: A Fun Telling Time Workbook for Kids Ages 4–6.
📖 What it is (and isn’t)
- Format: a paperback activity workbook sold on Amazon, 31 pages, 7 × 10 inches. It is not a printable and not a routine chart.
- Ages: written for ages 4–6 (Amazon lists a reading age of 4–8).
- Covers: clock faces, the hour and minute hands, o’clock times, an introduction to half hours, and time-matching activities. That lines up with the matching, o’clock and half-hour stages described above.
- Price: listed at $9.99 on Amazon.com when we checked in October 2026. Prices can change, so check the listing.
- Not a fit if: your child is 2–3. Start with a picture-only routine chart instead; clock work can wait.
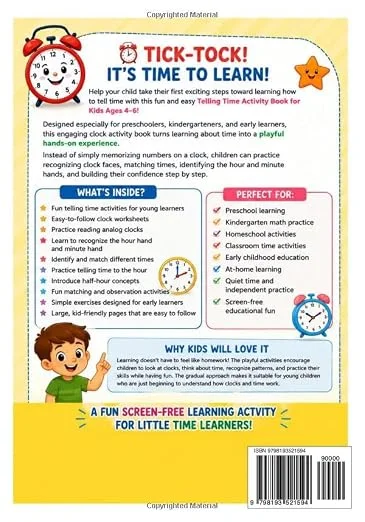
A simple way to use it alongside your chart: do one or two pages a day, then go and “find” that time on your child’s routine chart. If a page shows seven o’clock, what happens at seven in your house? That links the workbook back to real life. You can read more about the book on our Tick-Tock Time Adventures page.
See Tick-Tock Time Adventures on Amazon →
This is our own book, and we earn money if you buy it. The routine chart in this guide works without it.
📚 Related books from ColorJoy
If this topic is on your mind, these titles from our own shelf fit well alongside it.

Calming Mindful Coloring Book for All Ages
A calm coloring slot fits the wind-down part of a bedtime routine: mandalas, patterns and nature scenes with thick lines.
$9.99 paperback on Amazon.com · Paperback, shipped by Amazon

Phonics Practice Workbook (Ages 4–6)
If your chart has a learning-time square, this gives it a short daily task: letter sounds, beginning sounds and simple words (ages 4–6).
$12.99 paperback on Amazon.com · Paperback, shipped by Amazon

Build Confidence in Kids: 23 Daily Habits (PDF guide)
A parenting guide built around small daily habits, so it pairs naturally with a routine chart.
$3.99 printable PDF on Payhip · Instant PDF download; print at home

Toddler Parenting Guide: Tantrums, Hitting & Picky Eating (PDF)
For the days the routine falls apart: a short guide to tantrums, hitting and picky eating.
$3.99 printable PDF on Payhip · Instant PDF download; print at home
These are our own books and printables, and we earn money if you buy them. Prices as listed on Amazon.com and Payhip when we checked on 18 October 2026; prices can change, so please confirm on the product page.
FAQ & final thoughts
At what age should I start a routine chart?
Many families start around age 2 with a three- or four-picture chart for one routine, such as bedtime. At this age the chart is mainly a talking tool you use together. By 3 to 4, most children can start moving a clip or flipping a card themselves.
How many steps should a routine chart have?
Roughly 3 to 4 steps for 2-year-olds, 4 to 5 for 3- to 4-year-olds, 5 to 6 for 4- to 5-year-olds, and up to about 8 for school-age children. If your child loses interest halfway through, the chart is probably too long.
Should a routine chart have times on it?
Not at first. Toddlers and young preschoolers just need the order of steps. Around age 4 to 5, adding clock faces for a few key steps is a gentle way to introduce telling time. U.S. Common Core standards expect telling time to the hour and half hour in first grade.
Do routine charts work for kids with ADHD or autism?
Visual schedules are commonly used for children who find transitions hard. Ask your child’s teacher or therapist what picture style and step count they use so your home chart matches what your child already knows.
Picture chart or written checklist?
Use pictures (ideally photos of your child) for ages 2 to 4, pictures plus single words for ages 4 to 5, and a written checklist with small pictures or times once your child is reading simple words, usually around 6 to 8.
What time should my child go to bed?
Work backward from the time your child needs to wake up, using the AAP-supported sleep ranges: 11 to 14 hours for ages 1 to 2, 10 to 13 hours for ages 3 to 5, and 9 to 12 hours for ages 6 to 12, counting naps. Then build your bedtime chart backward from lights-out.
What do I do when my child refuses to follow the chart?
Stay calm, point to the chart, and ask “What’s next?” rather than arguing. If refusals happen at the same step every day, change that step: move it, split it, or add a choice. Praise each step done and keep rewards small and immediate.
● Final thoughts
A daily routine chart for kids is one of the simplest parenting tools there is: a few pictures, some tape and a spot on the wall. What makes it work is the way you use it. Keep it short, build it together, ask instead of tell, and adjust it as your child grows. Start with the one routine that’s hardest in your house this week. In a few weeks, “What’s next on your chart?” may be the only reminder you need.